Trigger an Argo Workflow
This example helps internal developer teams to trigger an Argo Workflow using Port's self service actions. We will create a blueprint for argoWorkflow that will be connected to a backend action. We will then add some configuration files (invocations.json) to control the payload and trigger your Argo Workflows directly from Port using the sync execution method.
- This guide assumes you have Kafka credentials available and ready to use within your Port account.
- You will need an accessible k8s cluster. If you don't have one, here is how to quickly set-up a minikube cluster.
- Helm - required to install the Port Agent with Argo Workflow setup.
Steps
- Create an Argo Workflow blueprint in Port
Argo Worklow Blueprint (click to expand)
{
  "identifier": "argoWorkflow",
  "description": "This blueprint represents an Argo Workflow.",
  "title": "Argo Workflow",
  "icon": "Argo",
  "schema": {
    "properties": {
      "metadata": {
        "icon": "Argo",
        "title": "Metadata",
        "description": "Metadata information for the Argo Workflow.",
        "type": "object"
      },
      "spec": {
        "icon": "Argo",
        "title": "Specification",
        "description": "Specification details of the Argo Workflow.",
        "type": "object"
      },
      "status": {
        "type": "object",
        "title": "Status",
        "description": "Status information for the Argo Workflow.",
        "icon": "Argo"
      }
    },
    "required": []
  },
  "mirrorProperties": {},
  "calculationProperties": {},
  "aggregationProperties": {},
  "relations": {}
}
- Register an existing
Argo Workflow Blueprint Entityin the catalog (Recommended)
This step is optional, but recommended in order to avoid having to re-enter the workflow input properties every time before executing the action. The workflow should exist in your Argo Workflow deployment instance as well. Learn more.
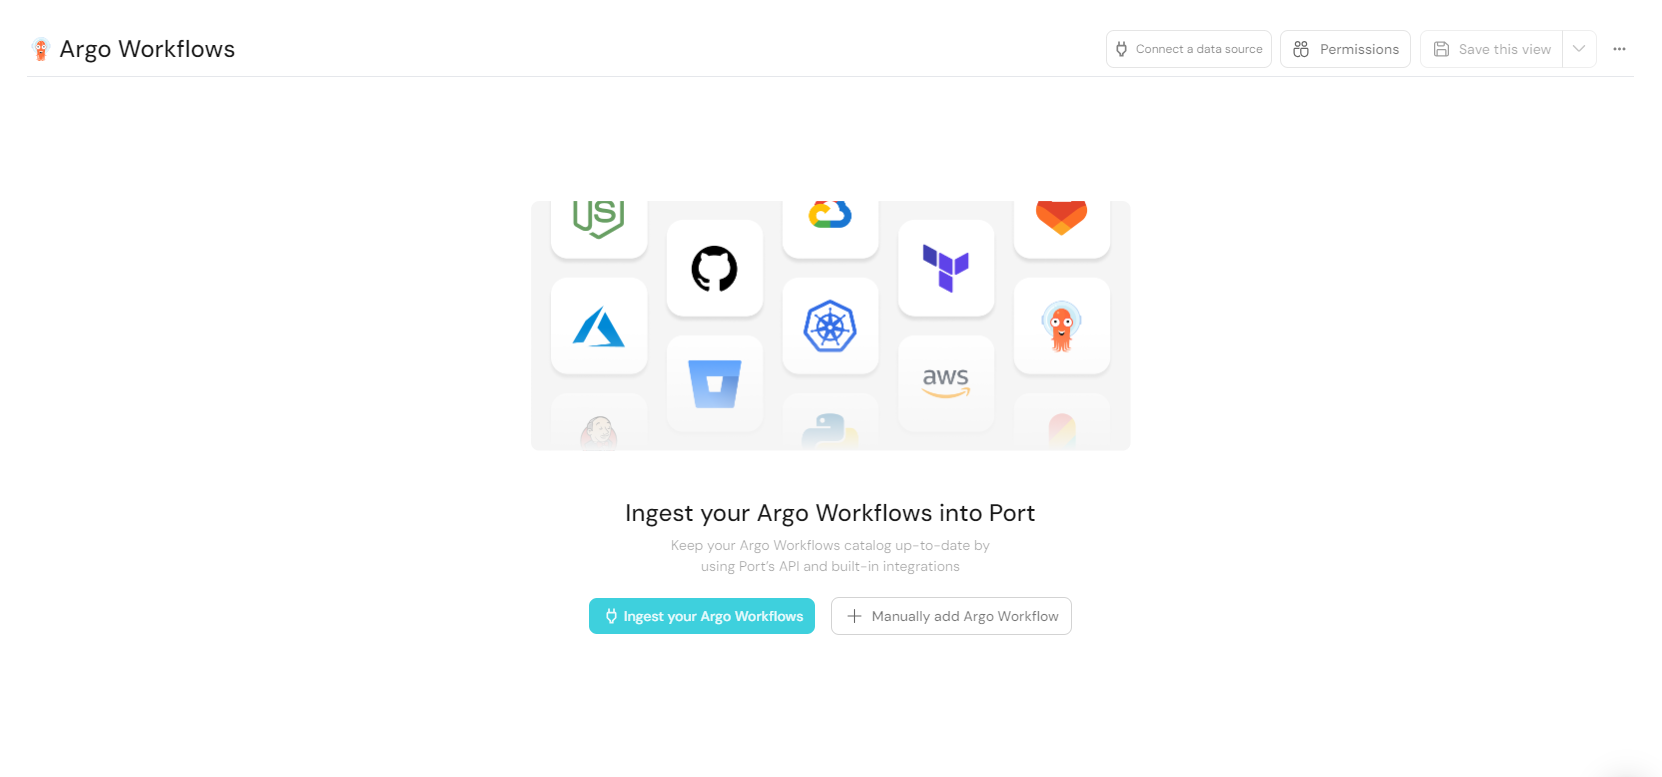
- The image below shows two ways of ingesting data to Argo Workflow catalog. In this example, we will choose the
Manually add Argo Workflowoption
- Edit the form with the template data of the workflow you wish to trigger. An example template has been provided below for your convenience.
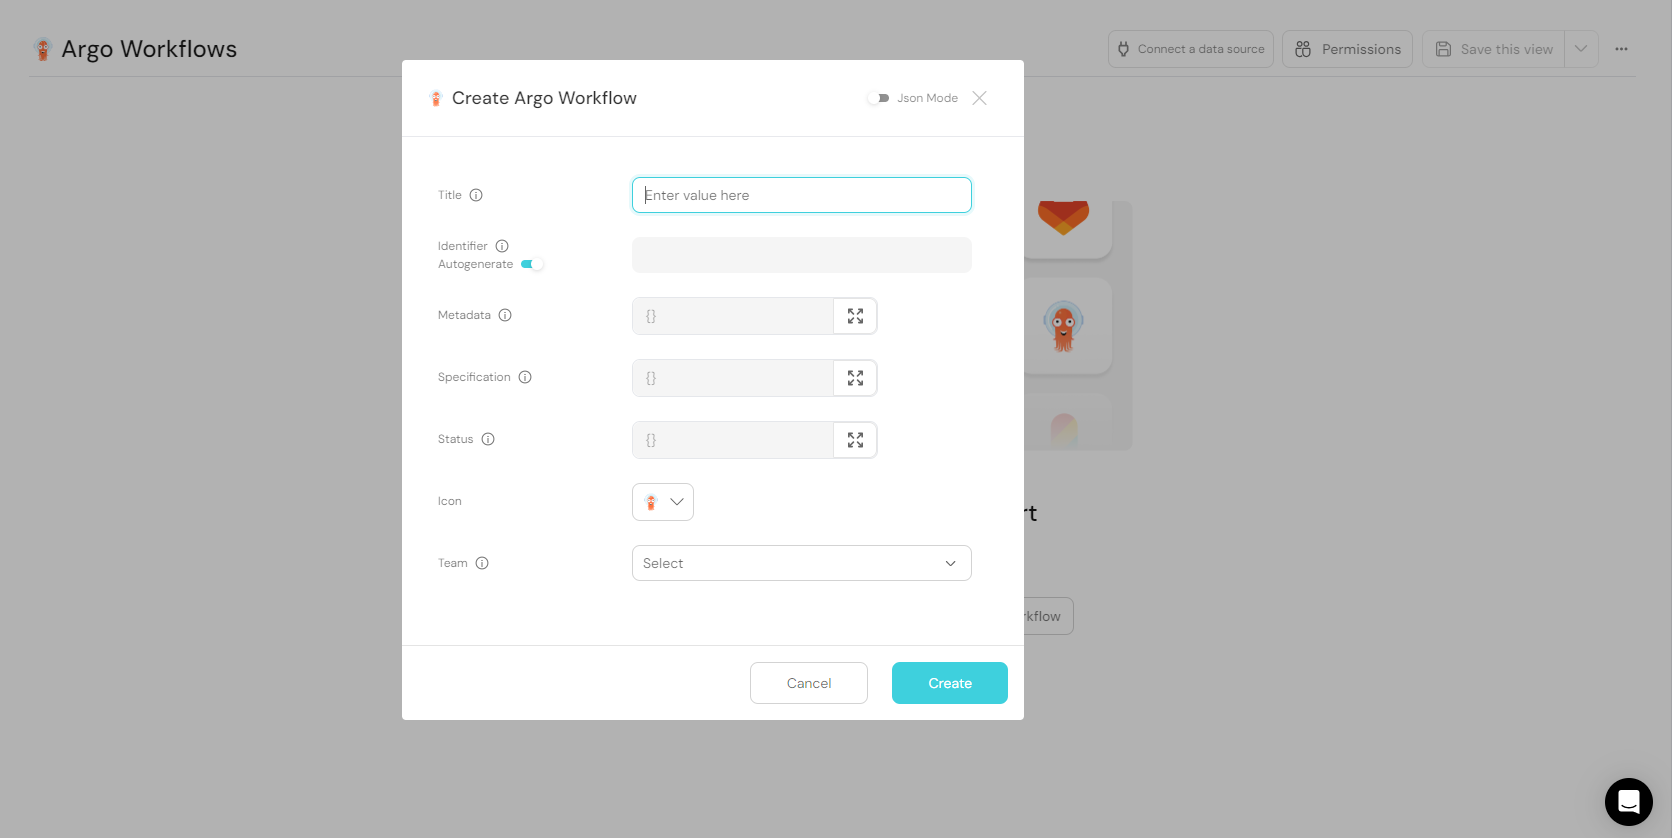
As stated in the note above, be sure to submit this example workflow to your Argo Workflow deployment instance before using it in Port.
Blueprint Entity Example (click to expand)
{
  "identifier": "f7d561c3-2791-4092-b960-8f2428ef9d79",
  "title": "hello-world-x9w5h",
  "icon": "Argo",
  "team": [],
  "properties": {
    "metadata": {
      "name": "hello-world-x9w5h",
      "generateName": "hello-world-",
      "namespace": "argo",
      "uid": "f7d561c3-2791-4092-b960-8f2428ef9d79",
      "resourceVersion": "484158",
      "generation": 7,
      "creationTimestamp": "2024-01-22T20:53:35Z",
      "labels": {
        "workflows.argoproj.io/completed": "false",
        "workflows.argoproj.io/creator": "system-serviceaccount-argo-argo-server",
        "workflows.argoproj.io/phase": "Failed"
      },
      "annotations": {
        "workflows.argoproj.io/pod-name-format": "v2"
      },
      "managedFields": [
        {
          "manager": "argo",
          "operation": "Update",
          "apiVersion": "argoproj.io/v1alpha1",
          "time": "2024-02-28T08:52:25Z",
          "fieldsType": "FieldsV1",
          "fieldsV1": {
            "f:metadata": {
              "f:generateName": {},
              "f:labels": {
                ".": {},
                "f:workflows.argoproj.io/completed": {},
                "f:workflows.argoproj.io/creator": {}
              }
            },
            "f:spec": {}
          }
        },
        {
          "manager": "workflow-controller",
          "operation": "Update",
          "apiVersion": "argoproj.io/v1alpha1",
          "time": "2024-02-28T08:52:35Z",
          "fieldsType": "FieldsV1",
          "fieldsV1": {
            "f:metadata": {
              "f:annotations": {
                ".": {},
                "f:workflows.argoproj.io/pod-name-format": {}
              },
              "f:labels": {
                "f:workflows.argoproj.io/phase": {}
              }
            },
            "f:status": {}
          }
        }
      ]
    },
    "spec": {
      "templates": [
        {
          "name": "whalesay",
          "inputs": {},
          "outputs": {},
          "metadata": {},
          "container": {
            "name": "",
            "image": "docker/whalesay:latest",
            "command": [
              "cowsay"
            ],
            "args": [
              "hello world"
            ],
            "resources": {}
          }
        }
      ],
      "entrypoint": "whalesay",
      "arguments": {},
      "shutdown": "Stop"
    },
    "status": {},
    "relations": {}
  }
}
- Create a Port action using the following JSON definition:
Port Action (click to expand)
{
  "identifier": "argoWorkflow_trigger_a_workflow",
  "title": "Trigger A Workflow",
  "icon": "Argo",
  "description": "Trigger the execution of an argo workflow",
  "trigger": {
    "type": "self-service",
    "operation": "DAY-2",
    "userInputs": {
      "properties": {
        "namespace": {
          "title": "Namespace",
          "description": "Name of the namespace",
          "icon": "Argo",
          "type": "string",
          "default": {
            "jqQuery": ".entity.properties.metadata.namespace"
          }
        },
        "memoized": {
          "title": "Memoized",
          "description": "Turning on memoized enables all steps to be executed again regardless of previous outputs",
          "icon": "Argo",
          "type": "boolean",
          "default": false
        }
      },
      "required": [],
      "order": [
        "memoized"
      ]
    },
    "blueprintIdentifier": "argoWorkflow"
  },
  "invocationMethod": {
    "type": "WEBHOOK",
    "url": "https://{your-argo-workflow-domain}.com",
    "agent": true,
    "synchronized": true,
    "method": "PUT",
    "body": {
      "action": "{{ .action.identifier[(\"argoWorkflow_\" | length):] }}",
      "resourceType": "run",
      "status": "TRIGGERED",
      "trigger": "{{ .trigger | {by, origin, at} }}",
      "context": {
        "entity": "{{.entity.identifier}}",
        "blueprint": "{{.action.blueprint}}",
        "runId": "{{.run.id}}"
      },
      "payload": {
        "entity": "{{ (if .entity == {} then null else .entity end) }}",
        "action": {
          "invocationMethod": {
            "type": "WEBHOOK",
            "url": "https://{your-argo-workflow-domain}.com",
            "agent": true,
            "synchronized": true,
            "method": "PUT"
          },
          "trigger": "{{.trigger.operation}}"
        },
        "properties": {
          "{{if (.inputs | has(\"namespace\")) then \"namespace\" else null end}}": "{{.inputs.\"namespace\"}}",
          "{{if (.inputs | has(\"memoized\")) then \"memoized\" else null end}}": "{{.inputs.\"memoized\"}}"
        },
        "censoredProperties": "{{.action.encryptedProperties}}"
      }
    }
  },
  "requiredApproval": false,
  "publish": true
}
- Create a json file (
invocations.json) in your working directory
Invocation Mapping (click to expand)
[
	{
		"enabled": ".action == \"trigger_a_workflow\"",
		"url": ".payload.action.invocationMethod.url as $baseUrl | .payload.properties.namespace as $namespace | .payload.entity.title as $workflow_name | $baseUrl + \"/api/v1/workflows/\" + $namespace + \"/\" + $workflow_name + \"/resubmit\"",
		"headers": {
			"Authorization": "\"Bearer \" + env.ARGO_WORKFLOW_TOKEN",
			"Content-Type": "\"application/json\""
		},
		"body": {
			"memoized": ".payload.properties.memoized"
		},
		"report": {
			"status": "if .response.statusCode == 200 then \"SUCCESS\" else \"FAILURE\" end",
			"link": ".body.payload.action.invocationMethod.url as $baseUrl | $baseUrl + \"/workflows/\"+ .response.json.metadata.namespace + \"/\" +.response.json.metadata.name"
		}
	}
]
- Run the helm command below to install port agent for Argo Workflows
Port agent installation for Argo Workflows (click to expand)
Remember to replace the boilerplate credentials in the helm command with your actual credentials
helm repo add port-labs https://port-labs.github.io/helm-charts

helm repo update

helm install my-port-agent port-labs/port-agent \
    --create-namespace --namespace port-agent \
    --set env.normal.PORT_ORG_ID=YOUR_ORG_ID \
    --set env.normal.PORT_CLIENT_ID=YOUR_CLIENT \
    --set env.secret.PORT_CLIENT_SECRET=YOUR_PORT_CLIENT_SECRET \
    --set env.normal.KAFKA_CONSUMER_GROUP_ID=YOUR_KAFKA_CONSUMER_GROUP \
    --set env.secret.KAFKA_CONSUMER_USERNAME=YOUR_KAFKA_USERNAME \
    --set env.secret.KAFKA_CONSUMER_PASSWORD=YOUR_KAFKA_PASSWORD
    --set env.normal.KAFKA_CONSUMER_BROKERS=PORT_KAFKA_BROKERS \
    --set env.normal.STREAMER_NAME=KAFKA \
    --set env.normal.KAFKA_CONSUMER_AUTHENTICATION_MECHANISM=SCRAM-SHA-512 \
    --set env.normal.KAFKA_CONSUMER_AUTO_OFFSET_RESET=earliest \
    --set env.normal.KAFKA_CONSUMER_SECURITY_PROTOCOL=SASL_SSL \
    --set en.secret.ARGO_WORKFLOW_TOKEN=YOUR_ARGO_WORKFLOW_TOKEN \
    --set-file controlThePayloadConfig=./invocations.json